Introduction
Flux 2 KLEIN is the definitive model for local image generation in 2026. This guide explains the
construction steps in a "portable configuration" by grouping all files into one folder (e.g.,
C:\flux-klein) to keep your main system environment clean.
Prerequisites
Ensure you have the following environment ready:
- ✅ Python 3.12+ (
winget install Python.Python.3.12) - ✅ Git (
winget install Git.Git) - ✅ Storage: 30GB+ free space (SSD recommended)
- ✅ VRAM: 8GB+ (NVIDIA RTX 3060 or higher)
Environment Setup: Building the Foundation
Create a dedicated folder and virtual environment.
Install PyTorch 2.6
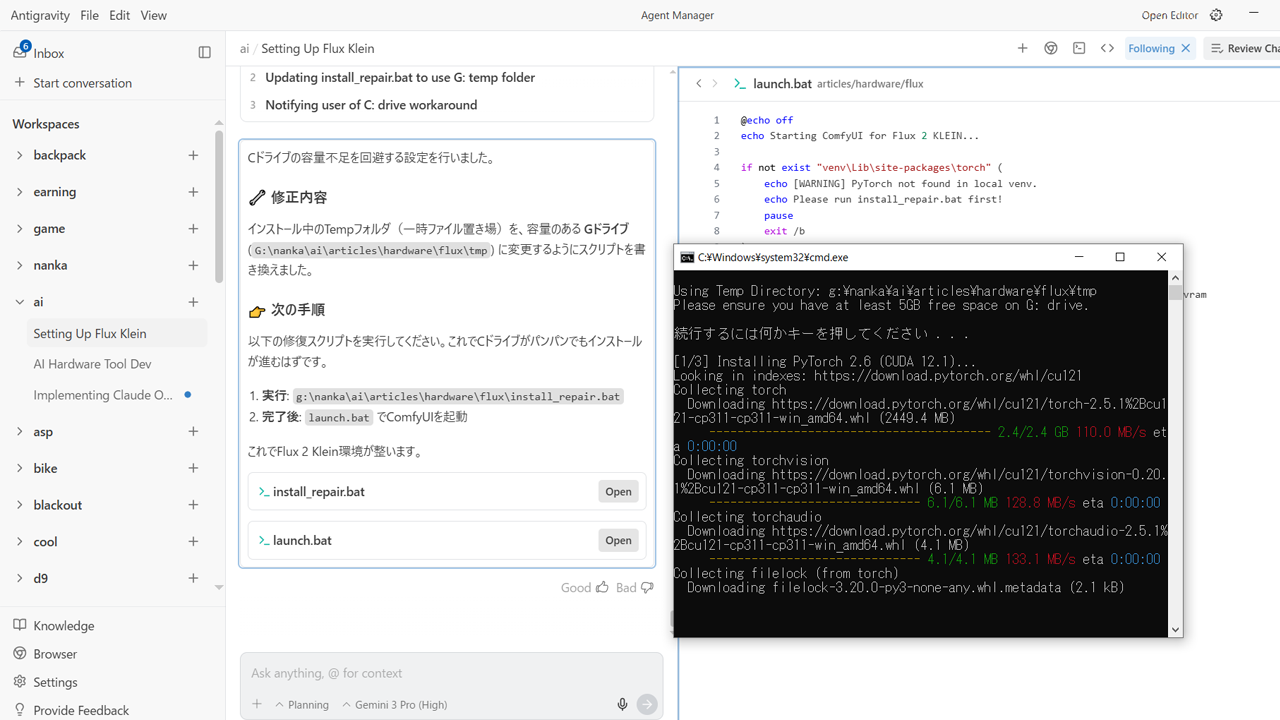
Install PyTorch with CUDA support. If your C: drive space is low, change the temporary folder using the following steps:
ComfyUI & Custom Nodes
Install the UI base and Flux 2 extensions.
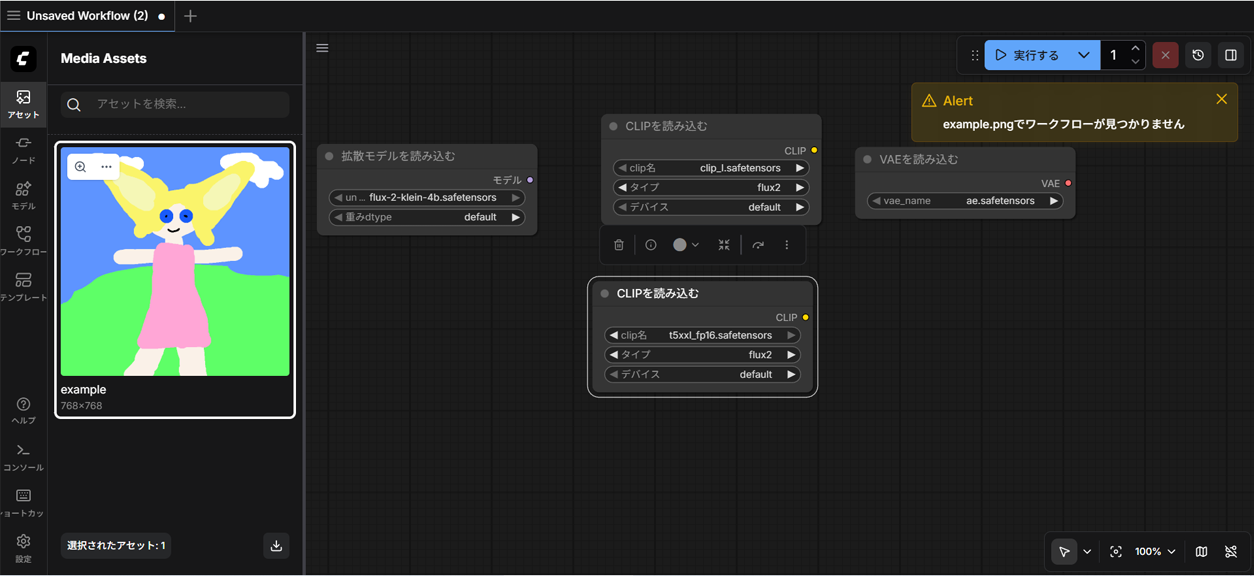
Model File Placement
Move the four downloaded files to their designated locations.
| File Type | Filename | Path (inside ComfyUI) |
|---|---|---|
| Main Model | flux-2-klein-4b.safetensors | models/unet/ |
| VAE | ae.safetensors | models/vae/ |
| CLIP | clip_l.safetensors | models/clip/ |
| T5 Checkpoint | t5xxl_fp16.safetensors | models/clip/ |
Launch and Run
Create a batch file for easy launching.
Save the above as launch.bat and run it. Access http://127.0.0.1:8188 in
your browser, and you're set!
Troubleshooting
Q. "Failed to import" error
Dependencies for custom nodes were not correctly installed. Re-run
pip install -r requirements.txt.
Q. Crash due to lack of VRAM (OOM)
You have the --lowvram option enabled, but if it still crashes, close other browser tabs
like Chrome to free up VRAM. On 8GB systems, it's a tight fit, so avoid using other apps simultaneously.
🚑 If you still can't get it to work manually?
Ask Antigravity to "build this environment," and it can set everything up in minutes. However, it's best to handle copying or downloading large model files manually.